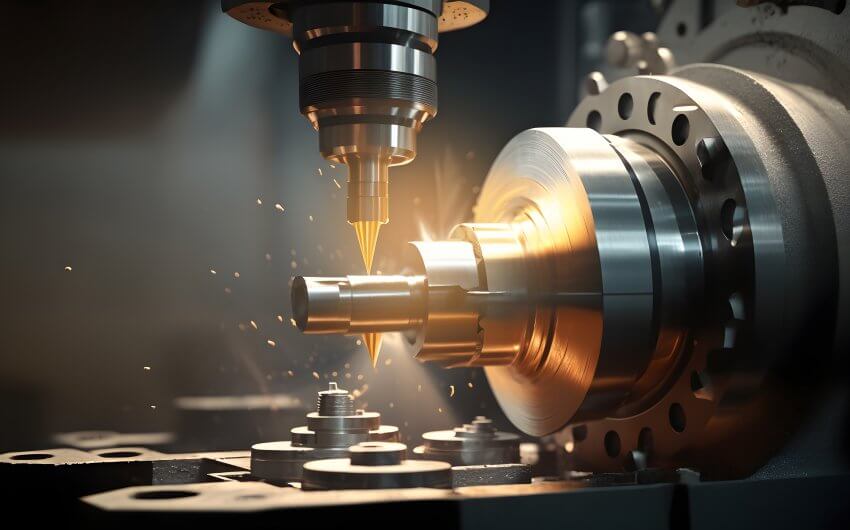
Updated from 2013, our CAMWorks 2.5 Axis Mill course has been updated for 2016. This course has a total of 56 lessons and is 2.5 hours long.
CAMWorks 2.5 Axis Mill tutorial
CAM stands for Computer Aided Manufacturing, and the software is used to generate tool paths for CNC machines to manufacture parts. The CAMWorks interface runs directly in SOLIDWORKS, so the interface will look very familiar to you if you have used SOLIDWORKS before.
The 2.5 Axis Mill course shows you the basics of starting to use CAMWorks. It goes over the process of creating tool paths and NC codes, creating 2.5 axis features, setting up machine strategies, creating avoids to limit toolpath movements, and running simulations to review the final output.
Using CAMWorks 2.5 Axis Mill
The six steps you need to set up a 2.5 axis milled part are:
- Define the Machine: this step lets you define the machine you’re going to use to machine the part. This includes setting up the units, choosing whether it’s going to be a milling feature or a turn feature, and choosing your toolcrib.
- Define the Stock: this step lets you define the material you’re going to use for the part and the size of the material block (called the stock) that you’re going to start off with. You can either use a bounding box or a sketch to define the material.
- Define the Features: after you define the machine and stock, you’re ready to define the features you need in order to create the part; for example, bosses, pocket features, and perimeter features. CAMWorks has an option called Automatic Feature Recognition (AFR), which automatically recognizes the features for you.
- Generate Operations: this step lets you define the series of steps or operations that will be used to machine each feature. You can use the “Generate Operation Plan” option to have CAMWorks automatically create all of the operation plans automatically.
- Generate Toolpaths: CAMWorks creates tool paths based on the size and shape of the features that will be machined. You can do this at once by using the “Generate Toolpath” option.
- Simulate Toolpaths: after you’re done with everything, the last step is to preview what your machine is going to do. Simulate Toolpath lets you see the movement of the tool and a preview of the finished part.


