


Snapshot
Let’s be honest, CAD models usually have the same visual look, because, well, that’s just the graphical limitations of CAD software. But lucky for us, there’s SOLIDWORKS Visualize! Visualize can take your CAD models from drab to visually exciting and photorealistic with a wide range of features and effects.
SolidProfessor’s SOLIDWORKS Visualize 2024 course is a complete refresh from the 2023 course with lots of additional new material to address the significant changes that have been made regarding appearances, textures, and the overhauled Render Wizard. This is in addition to the comprehensive curriculum detailing all the basics and best practices for setting up projects and scenes in Visualize, allowing you to get the most out of all the available output types. These can be great for advertising and presentations, websites, and even virtual reality.
A basic animation created with SOLIDWORKS Visualize
Course Highlights
The Visualize course will cover all the main aspects of the software, which include:
- Interface overview
- Importing CAD files
- Working with and manipulating objects
- How to apply and adjust appearances
- Setting up scenes with environments and lighting
- Using cameras
- Creating movement with animations
- Using the Render Wizard to create a variety of output types
Additionally, several updates are exclusive to the 2024 version:
New Appearances System
With the 2024 version of Visualize, Dassault Systèmes introduced a new appearances system (DSPBR, Dassault Systèmes Enterprise Physically Based Rendering). This system is a PBR shading model that simulates consistency with the laws of physics and improves how light interacts with surfaces. All appearances from previous versions of Visualize are now considered legacy. Legacy appearances will still open/render in newer versions of Visualize but they won’t have all the effects channels available in the new version, and they may not visually look the same as they did in older versions of the software; this is because legacy appearances aren’t part of the new appearance types or the new appearance system in general.
The new appearance types have lots of options, and by options, I mean lots of appearance channels unique to the appearance type that can be adjusted to create a specific appearance on a model’s surface. In most cases, textures can be added to every individual channel under an appearance type to add even more detail to an appearance.
Applying an appearance channel to create a transparency effect
Render Wizard
The other major change to Visualize that’s covered in the course is the Render Wizard. The Render Wizard has replaced the original Output Tools dialog, making rendering significantly easier. It functions as a step-by-step interface to guide you through all the settings that are needed to output a rendering into a file format that can be used in many applications. The course extensively covers all the output types available in the Render Wizard:
- Snapshot
- Image
- Animation
- Panoramic View
- Interactive View
- Interactive Animation
- 360 Camera
The new Render Wizard has replaced the original Output Tools dialog
Who is this lesson for?
The Visualize course is for anyone that wants to learn how to turn CAD models into realistic renderings. Keep in mind that many different file formats, with 3D model geometry in them, can be created in a variety of different software and then imported into Visualize, such as: CATIA (.CATPart and .CATProduct), PTC Creo (.prt and .asm), Inventor (.ipt and .iam), NX (.prt), Solid Edge (.par and .asm), Rhino (.3dm), STEP (.step and .stp), IGES (.iges and .igs), and Parasolid (.x_t and .x_b).
SOLIDWORKS native files (.SLDPRT and .SLDASM) are generally the most compatible, and motion studies can even be imported from SOLIDWORKS to Visualize to create assembly animations. This process and additional advanced techniques are covered in the Advanced SOLIDWORKS Visualize course.
This course is not for those looking for a program to design CAD models, but rather it allows existing CAD models to be leveraged in photo rendering projects to create realistic scenes with them.
How can you use these tools?
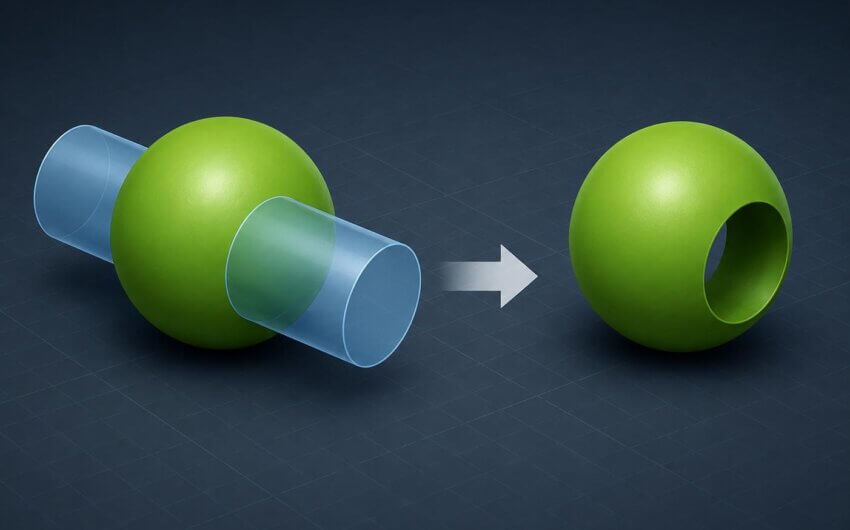
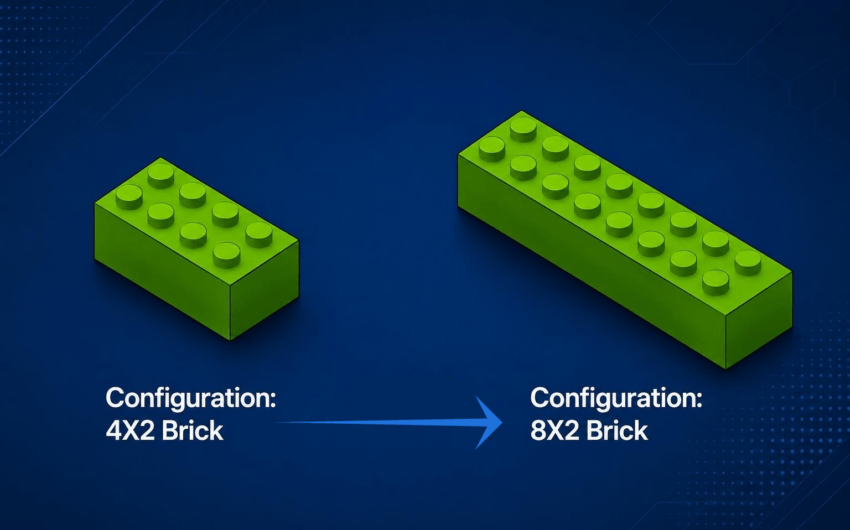
- Create realistic renders of CAD models
- Generate different visual configurations of your models
- Design scenes for your models with environments and lights
- Produce marketing materials with the outputs available in the Render Wizard
- Create images and animations for presentations, demonstrations, and stakeholders
- Render interactive outputs that can be used on websites and in VR Applications
Using an interactive rendering of a drone model
Start learning how to create attractive and realistic renderings of your CAD models today with SolidProfessor’s comprehensive SOLIDWORKS Visualize course!