Create 3D renderings of your design
In this blog series, we deep dive into each stage of the idea to product lifecycle, from identifying a problem and formulating an idea through production and marketing. In each post, we’ll focus on one of the twelve unique aspects of the cycle and its impact on the end product.
Stage 6 of 12: Engineering
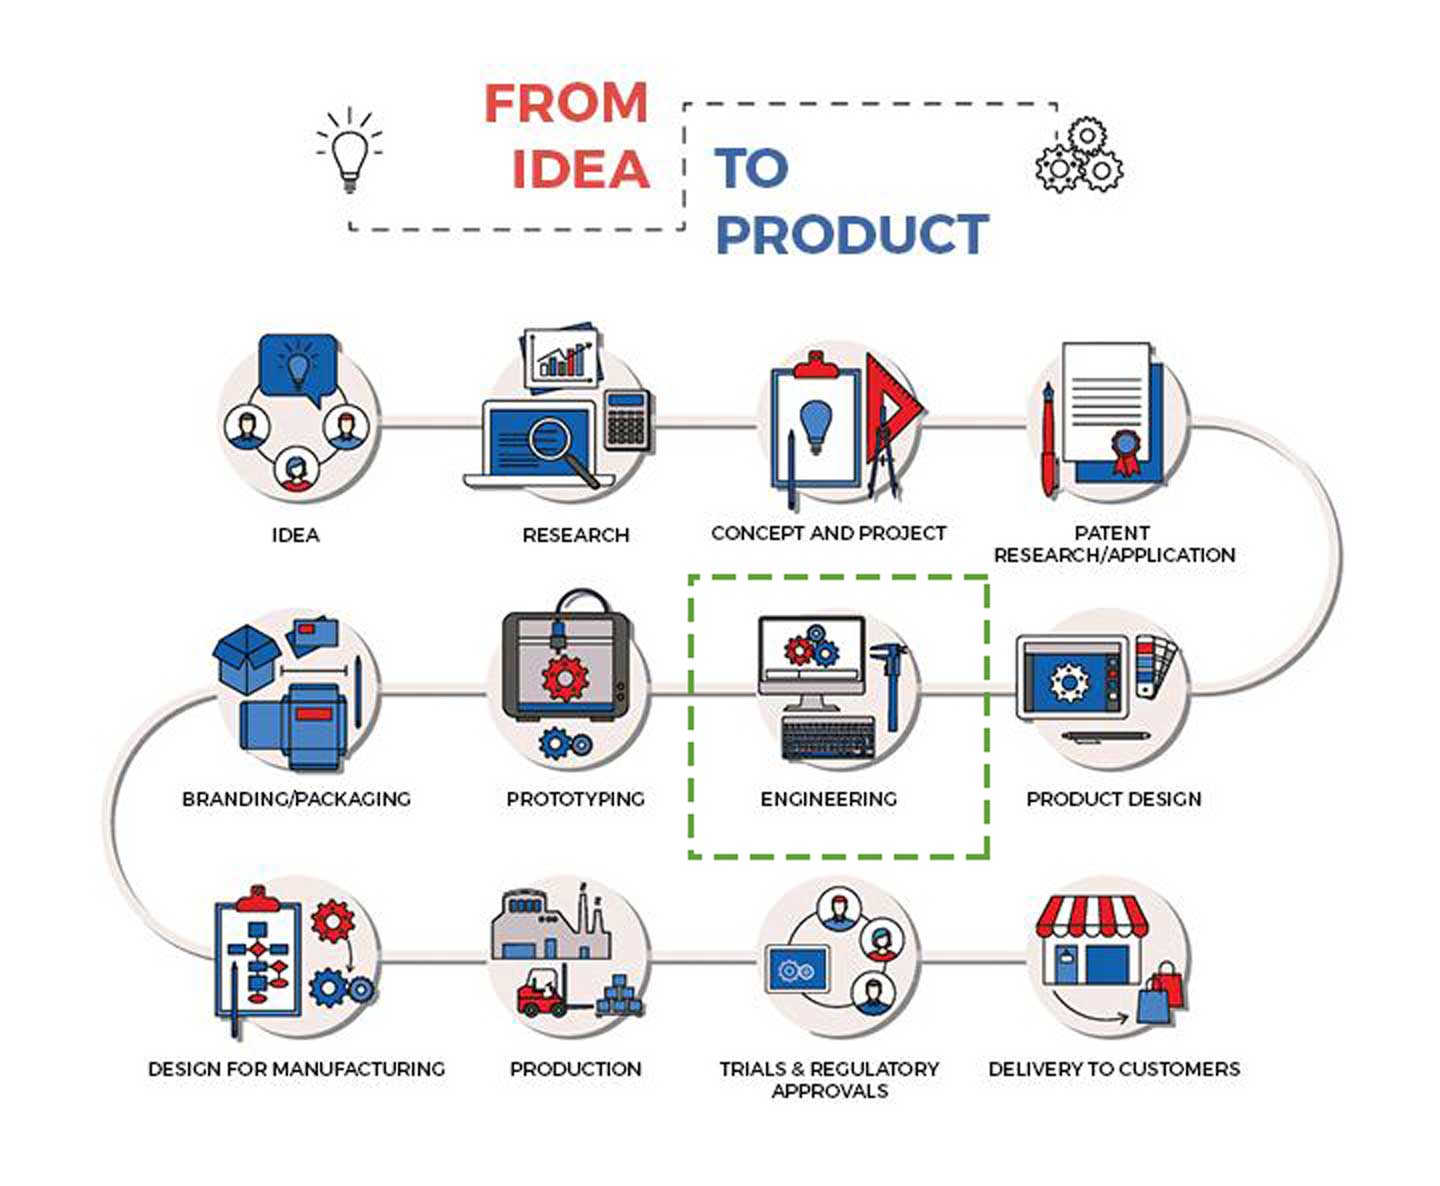
In the engineering stage, you conclude whether or not your ideas are actually feasible. In this stage and the following, you’ll have the opportunity to create and test specifications to make your product design a reality.
Engineers solve the world’s problems, but engineering is more than just identifying a problem and quickly designing a solution. The engineering stage includes the imagining of an initial design, planning a promising solution, and creating prototypes to test that solution. So far, you’ll have begun the imagination step of the process with the previous product design stage. In this stage, you’ll continue this step and begin addressing the planning step as well.
If you’re attempting to solve the problem of a cold room, your first inclination might be to add heat. Adding heat is an idea, but it’s not a solution until you have a way to effectively implement it. You could install a whole heating system, but depending on constraints like cost, time, and space, this may not be the best solution. You may next turn to a smaller solution, like a space heater. Again, depending on your given constraints, you’ll need to consider how much heat you’ll want and will be able to produce. If the room is small, your required heat output will be less than for a larger room. If your goal is to produce a lot of heat, you’ll next need to consider the types of materials that will be able to withstand certain temperatures of heat. This type of testing can be done using CAD software to design and test virtual prototypes of your product and physical prototypes in the prototyping stage.
The engineering stage will help you to further develop your design and test its feasibility by providing you with the set of drawings and technical specifications that’ll eventually become your final design.
From sketches to models
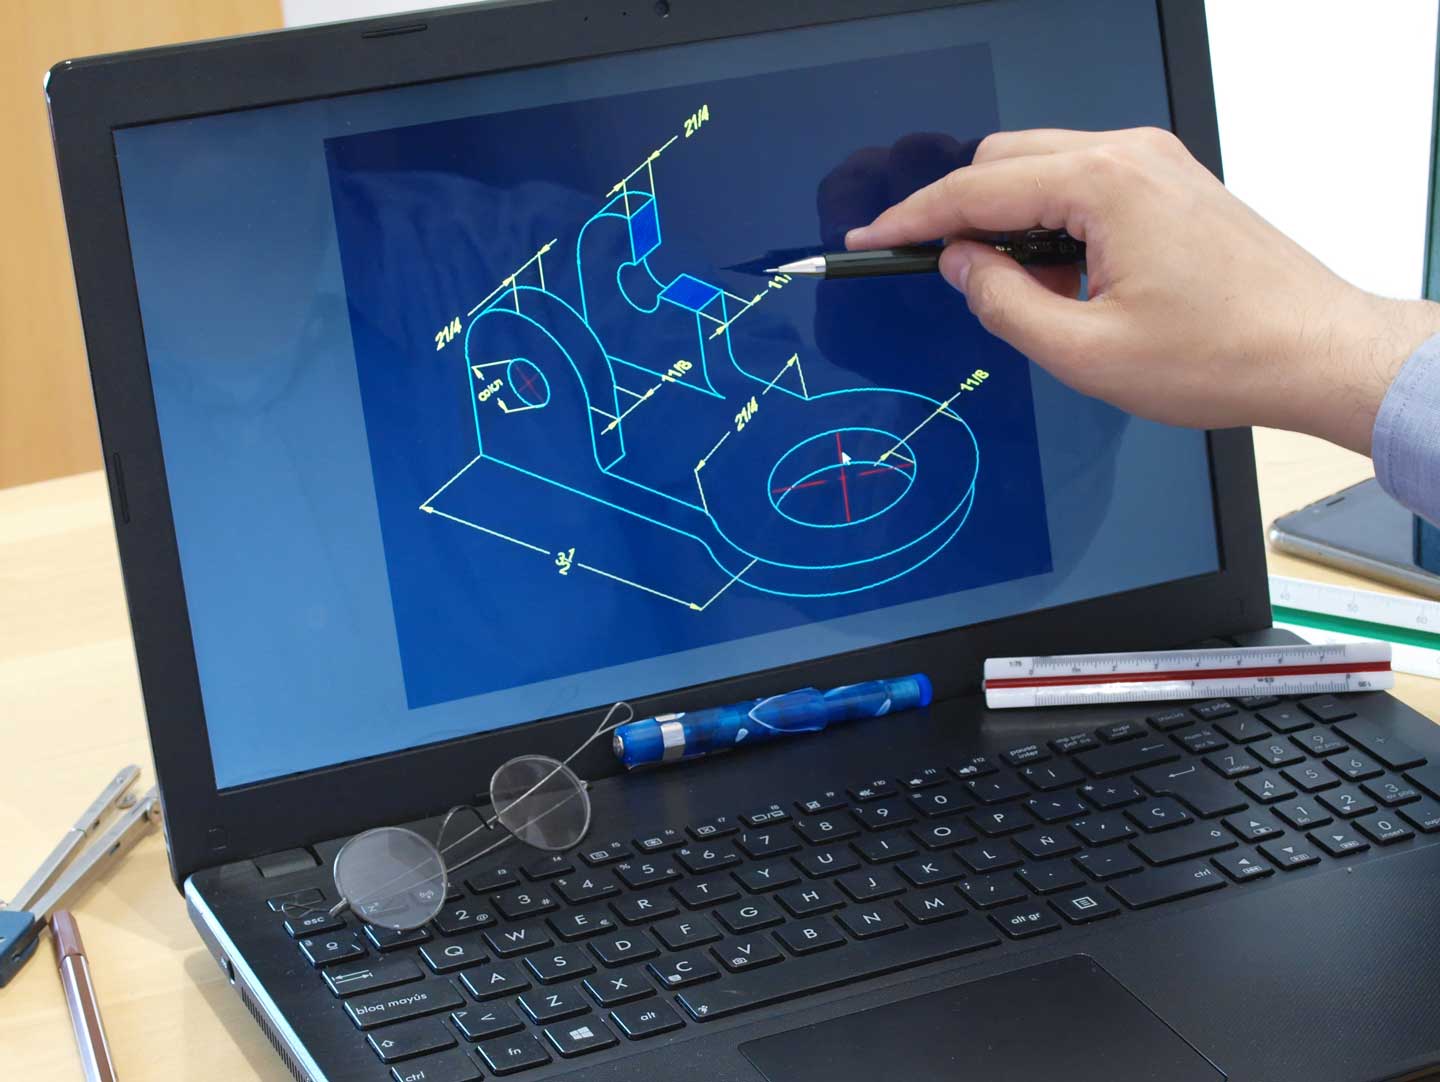
At this point in the design process, most of your designs will be 2D sketches. Your team will need to focus on translating these sketches into 3D models for each part of your design. By creating detailed models of each part, you’ll be able to evaluate your product’s functionality and overall design.
Every object in your house was designed using CAD software; the blender in your kitchen, the tennis racket in your garage, and even your phone case. With CAD software, you create and test designs for all kinds of products. Depending on the type of product you’re creating, there are many different design software titles to choose from. Some software is better for certain projects than others.
CATIA can be used for several stages of product development, including computer-aided design, engineering, and manufacturing. It is a multi-platform, cloud-based software that allows for easy access to designs and collaboration on-the-go.
SOLIDWORKS is a solid modeling software with the ability to quickly use CAM tools to enable the designer to input specifications and test design capabilities. The software recognizes the parametric characteristics of the designs and adjusts the designs appropriately when elements are changed based on these characteristics, as opposed to the geometry. With this program, you can create both parts and assemblies, and it’s 3D modeling capabilities allow you to replicate the movements of both.
Autodesk Inventor is a parametric CAD application for mechanical design. It allows you to create complex assemblies from many parts. Autodesk’s large portfolio of products for architecture, engineering, construction, manufacturing, etc. makes it easy to transfer designs across multiple programs for multiple industries.
You may also want to consider investing time in learning software that you’re not as familiar with in order to build up your skill set, even if your company is accustom to one specific software. By learning new software and techniques, you may uncover ways to make processes more efficient.
Design analysis
3D modeling technology allows you to inspect your design for any issues that need to be fixed prior to prototyping and manufacturing. If you uncover an issue, you can return to the product design stage to determine how it can be resolved. In some cases, it may be necessary to redesign a significant portion of your product.
The job of an engineer is to identify a problem, design a solution, and test the efficacy of that solution. If your solution is good in theory, but not in practice, it’s not an actual solution. 3D modeling technology has the capabilities to stress test your product to determine how it’ll fair under different conditions. For example, if you’re designing a table and want to know how much weight it’ll be able to hold, you can use the software to see at which weight the table will critically deform. Most CAD software will also allow you to perform electrical and flow tests. As you move into the prototyping stage of the cycle, you’ll have the chance to further test the capabilities of your product. By taking the time for testing in this stage, you’ll save time and money later on in the process that would have been wasted on excess material and revision costs.
With the software capabilities of programs like SOLIDWORKS, you can create a digital prototype of your product that can be assessed from all angles. In our recent Inside the Design video, we showed you how to create a tennis racket using SOLIDWORKS. Within this tutorial, we were able to create the racket by configuring specific measurements that the software would recognize and adjust to as the product was resized and rotated. Additionally, this software allows you to isolate certain parts of the design in order to make changes that will only affect that isolated part. In doing so, you can evaluate different design options that may impact the product’s application for the consumer.
What’s next?
Once you’ve completed your digital prototypes, you can move on to making physical ones. In the next stage, you’ll create a prototype to test its functionality and design.


