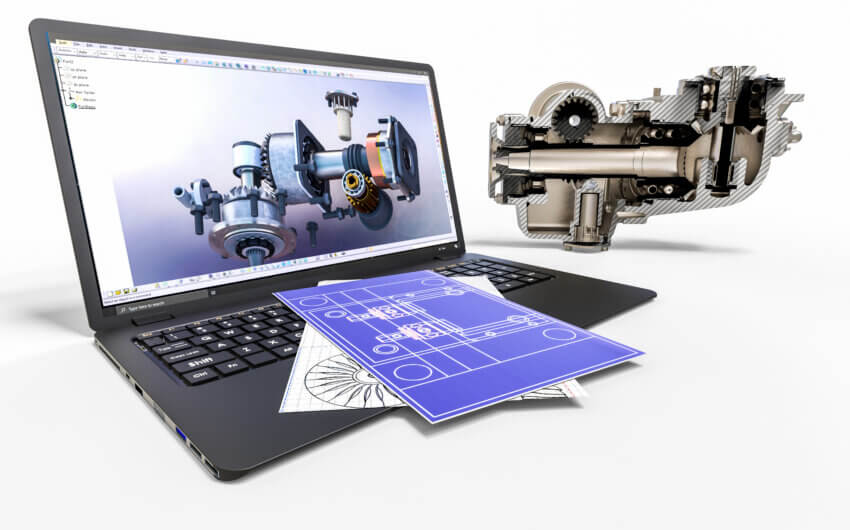
Learn how to add motion to your designs with a SOLIDWORKS animation tutorial
Showcase your parts and assemblies by animating your designs with SOLIDWORKS Animation. Animation tools are used by engineering design teams, product development teams, and sales and marketing teams to demonstrate how CAD projects move and function for customers. You can give your designs motion and realism by animating their behaviors. (Feel free to jump right to our SOLIDWORKS Animation Tutorial or continue reading for more information on how to do animation in SOLIDWORKS.)
How to create motion using SOLIDWORKS Animation Wizard
The simplest way to learn how to do animation in SOLIDWORKS is to use the Animation Wizard. With the Animation Wizard, it only takes a few inputs to generate a SOLIDWORKS assembly animation. You just simply set up basic options and parameters (such as duration and start time) in a pop-up window and an animation is automatically created.
Types of SOLIDWORKS animation
- Rotating part
- Assembly explode
- Assembly collapse
Automated SOLIDWORKS animation provides a faster way to easily visualize the function and behavior of your designs. If you want more control over how an animation is created, you can create them manually instead of using the Animation Wizard.
How to create animations manually by using SOLIDWORKS Animation Wizard
- Click and drag your model and capture those changes within an animation.
- Suppress mates or use a triad to move components.
- Use distance and angle mates to set the position of components at different points in the animation.
Once you’ve created a SOLIDWORKS animation, it’s easy to add to or refine it by editing the timeline. You can even reverse an animation. View Keys are another important tool when editing animation timelines. You can use them to change the viewing angles in animations to give multiple viewpoints.
How to add realism to your design by applying appearances to the CAD model
When you’re animating parts, you can add additional authenticity by modifying the appearances of your CAD model. Applying appearances will contribute to the overall animation by giving it a more realistic look.
Here’s how you can showcase how a part might exist in the real world.
- Revise the color of the model or materials
- Modify the visibility or transparency of a part
- Change the lighting and the scene that the model is displayed in
Get a step-by-step video walkthrough with these SOLIDWORKS animation tutorials >>
How to use mates to drive your SOLIDWORKS animations
Mates can be used as motion drivers in your animations and they can be set to precise values, allowing you complete control over how your design moves. For instance, you can use an angle mate as a driver to show the motion of a hinge opening and closing. The Mate Controller feature is a useful tool for driving motion because it can save you time by defining groups of mates for multiple components.
The effects of physics on animations
Adding the effects of physics to your SOLIDWORKS animations can make them more realistic. Show how the mass and inertia of components cause them to interact with each other and take the effects of gravity into consideration. This allows you to put the designs into a perspective that properly represents their function in the real world.
How to create a SOLIDWORKS exploded animation view
- Click on the configuration on the ConfigurationManager tab
- Double click Exploded View Feature or right click Exploded View and then click Explode or Collapse.
To animate exploding and collapsing of the view (for assemblies):
- Right click SOLIDWORKS Exploded View animation and then click Animate explode or Animate collapse
- To rotate parts and for full control over each step of the animation, use the Animation Wizard.
How to undo an exploded view in SOLIDWORKS
To delete or undo an explode step from SOLIDWORKS Exploded View animation, right click Exposed View and click Edit. Then, right-click an explode step and click Delete.
How to save an animation in SOLIDWORKS
To save and export your animation as a video file, go to the capture toolbar and click the Save Animation button. Next, give your animation a name, choose the type of video file that you want, and choose the render. Finally click Save and choose how the video is compressed.
Animation walkthroughs
Walkthroughs are a type of animation that simulates walking through your part in the model space. You can move the camera, like a director would, to show off the details of your creation. There are many ways to make a walkthrough and plenty of advanced options that let you define the camera that the animation is viewed through, down to the type of camera lens used. You can also define the path that the camera travels along for more control over the appearance of the animation.
SOLIDWORKS animation tutorials are a fantastic way to get more comfortable at walkthroughs! After you complete the SOLIDWORKS animation tutorial, you’ll be able to create custom animations for parts and assemblies and showcase the movements of a part and how it will function once its manufactured.
Adding SOLIDWORKS assembly animations, exploded view animations, and more will add new dimensions to your projects and give you an advantage in product designs. Improving on animation skills will also allow you to be more efficient in SOLIDWORKS and speed up your workflow.
You can also enhance your speed and efficiency with SOLIDWORKS keyboard shortcuts which will allow you to design faster and with more ease. With hard work, foundational skills, and staying up to date with the latest tips and tricks, you will be an exceptional design engineer in no time!


