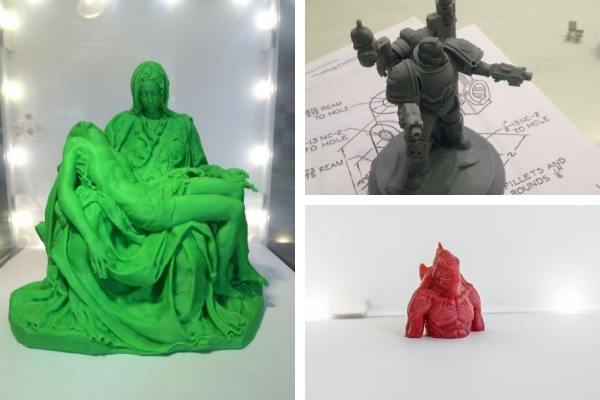
If you’ve had access to a 3D printer for a while, you’ve likely tried plenty of projects like printing calibration cubes to attempt getting just the right amount of extrusion. Or, maybe you’ve adjusted your Z-axis to eliminate any errors in your layers. Perhaps you experimented with some out-of-the-box ideas, like printing the entire full-body Halo costume. But once you’ve 3D printed every statue or figurine that you could find online, you’re probably wondering: What’s next? How do you keep the magic alive with your old 3D printer? Test out any of these five projects and let us know if they brought that spark back!
3D print your favorite city or landmark
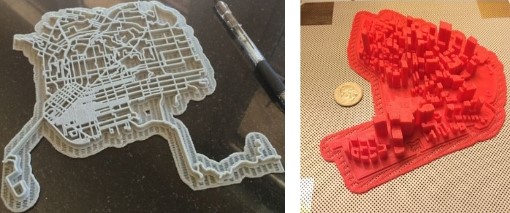
Websites like The Terrainator, Terrain2STL, or TouchTerrain let you automatically create 3D printable STL files from any terrain on a map. You could 3D print the Grand Canyon, Yosemite Park, or even your favorite local mountain. If you are tech savvy, you can leverage free GIS (Geographical Information System) data that’s available to the public to create your own STL file. Start searching through free GIS files to get started. The 3D files are usually very large, so try using a program like MeshMixer to reduce the number of triangles in the file, lowering the overall file size. The two 3D prints you see below are created from .TIF files that were downloaded from a free GIS database and then converted to STL files. Can you guess what city those 3D prints represent? Try it out on your own and let us know how it worked!
3D print customized parts for your printer — or print a whole new one
If you aren’t happy with the performance of your 3D printer, you can always just 3D print custom parts for it instead of buying a more expensive one. Some common enhancements include
- Changing the hot end to an all-metal hot end
- Swapping in Acme lead screws, which allow you to print in a higher resolution than the M5 threaded rods that come on a lot of 3D printers
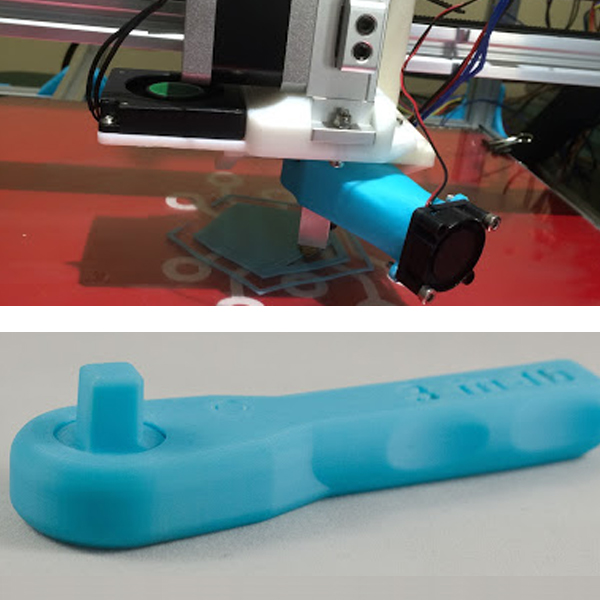
- Printing a whole new extruder, like the reliable open source Greg’s Wade Extruder shown in the image below. The blue fan vent upgrade in the other image was designed and 3D printed specifically to accommodate a new extruder upgrade.
The possibilities are endless, so if you think your 3D printer is missing something — or if you think of a feature that would make it a better machine — you can just design the part and 3D print it yourself.
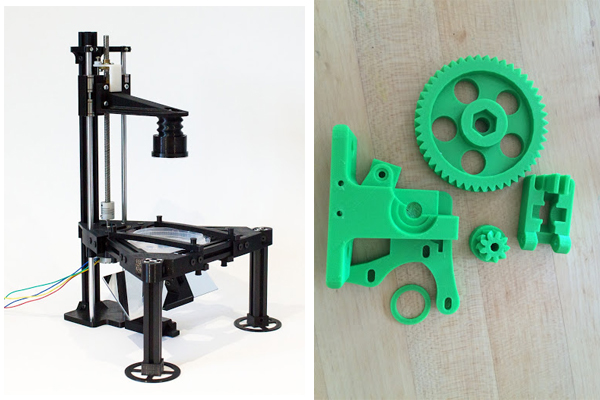
Printing a whole new 3D printer is also a great project to tackle. There are tons of free designs online, like those at the RepRap project. RepRap is a community project dedicated to making self-replicating machines, or 3D printers that 3D print other 3D printers. The ultimate challenge: You can design your own 3D printer, too. After you learn the basic mechanics and components of a 3D printer, designing your own can be a great project. You can even design an SLA or DLP 3D printer that prints in resin instead of plastic filament. This 3D printer below mostly comprises parts that were 3D printed in PETG filament, and the 3D printed parts were printed from curable photopolymer resin and a DLP projector. Take the challenge and see if you can build a 3D printer that prints just as well as the professional ones.
Download and print 3D models directly from NASA
NASA has a website dedicated to supplying the public with 3D models that are functional and 3D printable. The wrench in the image below was actually the first 3D printed object designed on earth and sent to a 3D printer in space. The wrench has a one-way, fully functional ratchet. It was 3D printed as one file, so the astronauts had a working wrench right when they pulled it off the printer. NASA also has STL files for various capsules, rockets, satellites, and more available on its website.
3D print puzzles or movable assemblies
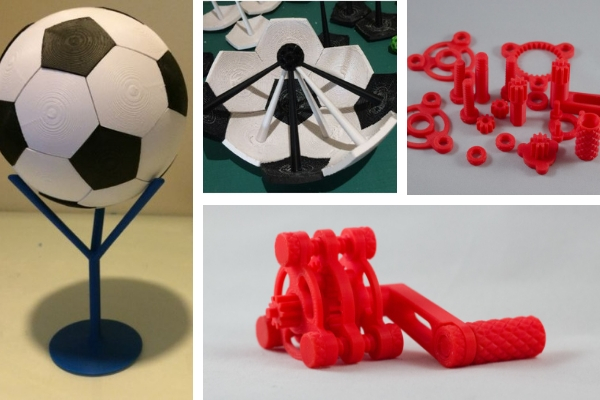
Your 3D prints don’t have to be just one piece. A fun challenge is to try printing multiple parts that work together like a puzzle or assembly. Take the soccer ball pictured below, for example. Even with dual extruders that would allow for printing in multiple colors, this soccer ball is still a difficult and messy 3D print. The interior has to be filled with infill, wasting a lot of filament and printing time. This soccer ball was created by 3D printing the panels in batches for each color, then attaching them to a separate connector piece in the center. This gear assembly is a popular model on Thingiverse, and it’s called the Tiny Planetary Gears Set. This assembly has gears that move when you turn the handle. It’s printed in separate parts and then assembled. The model is great for showing the possibilities of 3D printing, demonstrating the ability to print more complex components than just statues and figurines. After learning how this assembly works and studying the tolerances of each part, you can then take that knowledge and create your own functional assemblies.
Create functional 3D prints
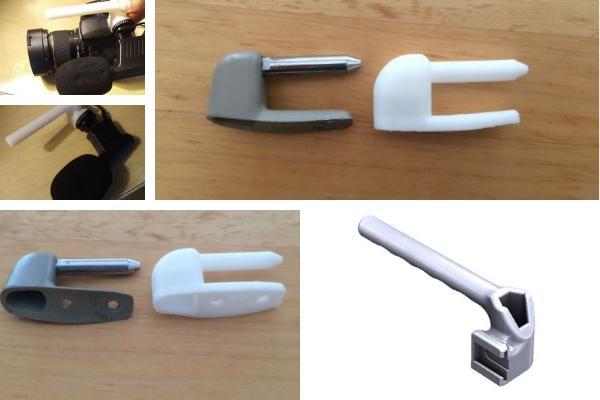
One of my favorite things to do with my 3D printer is to make functional 3D prints to fix things around the house or to make custom accessories. If something in your home breaks, there’s a good chance it can be fixed with 3D printing. For example, I created a sun visor holder (shown below) for my car when the part that holds the metal shaft cracked and wouldn’t hold the visor anymore. I used calipers to carefully measure it, 3D modeled the part in SOLIDWORKS, and 3D printed it with 95% infill in strong ABS to ensure it was strong enough to hold the visor. In another instance, I tried to find a handle for my DSLR camera that would mount into the hot-shoe of the camera and also had another hot-shoe mount for a mic. I couldn’t find one online that was within my price range, so I made a quick 3D model using existing 3D models as reference. I used strong ABS filament and printed it with a high infill percentage.
